Project Description
The goal is to continue developing a C64 emulator for the Raspberry Pi Pico based DIY console called Picopad.
Summary after Hackweek 25
- Instead of a clone+branch of PicoLibSDK, there's now a separate github project, but it's still necessary to be checked out into a PicoLibSDK subdirectory due to its build scripts limitations.
- The OSD keyboard emulation is complete, and keys can be also mapped to buttons, with per-game configs stored on the sd card.
- Emulation performance has improved (thanks to compiling with -O2 instead of -Os), but not yet at stable 50 FPS. LCD refresh is around 36, limited by the DMA transfers. I have some ideas to try improve a bit, we'll see.
- Added screenshot support (long press Y key) thanks to PicoLibSDK.
- Added .t64 format support, i.e. multiple .prg files in a single "tape" file (not actual c64 tape) with OSD selection.
- Several VIC emulation bugs were fixed that manifested in River Raid. The remaining graphic imperfections are likely due to insufficient cycle accuracy.
- Presented at the lightning talks (slides)
- Started looking into TAP format support, i.e. emulate the physical tape drive, which should allow playing games that load levels etc. Should be rather simple in theory but might be difficult to get the timings right - it's about triggering pulses of different length in the I/O chip.
- Emulating the floppy (.d64 format) would be then the next step, but orders of magnitude more complex than the tape - it has its own CPU (same as the C64, two I/O chips etc.). See here how even some hardware emulators (for connecting to a physical C64) don't do it properly.
Summary after Hackweek 24
- I've started publishing my changes on github
- I have continued the work on the C64 emulator. Last year some games I've tried were loading fine, but expected one or another key from the keyboard to be pressed before the game itself would start, and only joystick was emulated. Initially I assumed there's a support for USB host keyboard in the MCUME that just needs enabling to make progress (even if connecting a keyboard isn't very practical), but that was not the case. So to avoid implementing a full OSD keyboard emulation, I have mapped one button to the N key to answer the trainer/cheater questions many of the games ask in the beginning. This was not enough so I have mapped another to cycle between sending Return/Space/F1. This was finally enough to be able to play River Raid, yay!
- So River Raid mostly works, including sound effects, but there's some visual glitching while scrolling (not plain tearing due to lack of vsync), and enemy planes that are supposed to fly horizontally over the screen and "wrap around" crash after the first wrap, as if shot. This will be fun to debug...
- Before focusing on that, I've been wondering how to get the C64 emulator uf2 image to incorporate the nice loader/flasher of PicoLibSDK so it can become on of many apps available for the flasher and not require computer to switch between C64 and the rest. In the end I've decided to try porting the emulator fully from the original pico-sdk to PicoLibSDK, where the loader support is built in.
- Another expected advantage was that the bundled SD card/FAT filesystem support can be replaced with PicoLibSDK's built in support. This was indeed the case and after some minor code adjustments for compatibility with PicoLibSDK, it was compiling and the game selection screen (which loads a game from the sd card) was working.
- But when the C64 emulator itself was supposed to start, there was only some unreadable (due to bad colors) message, and eventually a crash screen for "Hard Fault" and a register/stack dump, not unlike the kernel oops screen.

- This was the point where I needed to get the serial console working and sprinkle some printk's. Thankfully I've got some USB-UARTs and PicoPad has an extension port. Being a memory management developer, eventually I found out that a malloc() is failing - the LCD support in MCUME was trying to malloc() the framebuffer, but PicoLibSDK had its own statically allocated one and since it needs 150kB out of the 264kB RAM Pico has, there's not enough for both... solution: make it use PicoLibSDK's framebuffer instead. During this I've also realized MCUME is trying to align the malloc()'d framebuffer to 32 bytes, but in a buggy way so it's very likely corrupting malloc() internals...
- Somewhat related to above, to complete the PicoLibSDK integration, I also wanted to replace the bundled ST7789 LCD driver and drawing handling with PicoLibSDK's built in functions. This meant also learning how the display is handled via the SPI interface. The game selection menu of MCUME uses SPI commands first to tell the LCD coordinates of a rectangle that's to be updated, and then sends the data by writing the appropriate amount of pixel data (16-bit RGB) with individual SPI commands in a loop. The menu uses this to draw filled rectangles, and text (with a bitmap font). This way of handling the display does not use the framebuffer in the RAM at all but it's not very performant - but it's fine for a menu. PicoLibSDK has similar API, so it was straightforward to switch to it, and also to use its display initialization call instead of the custom commands that MCUME was doing.
- However, the emulator itself is handled differently. It uses the framebuffer in RAM, which is transferred to the LCD using DMA transfers completely asynchronously from the CPU. When the DMA transfer finishes, it sends an IRQ, and the handler just initiates another transfer. With some stats gathering and printk's I've found that it achieves around 18 fps, which is tolerable, but importantly the CPU is free to do other work. Similarly I've also found out that the C64 emulation (which is driven by the PAL output, thus should be 50 fps interlaced to 25 fps) is done at 55 fps normally, but drops to 40 during the River Raid gameplay - probably due to sound processing.
- However it seems PicoLibSDK doesn't have this offloaded DMA mode. It can be told what rectangle to refresh from the framebuffer (or a whole screen), which initiates a DMA transfer per row, and waits for it to complete. Thus even if I initiated the refresh only each 100ms to get 10fps, the emulator become very, very slow.
- And this is where the Hackweek ended. But this time I hope to not wait for another Hackweek to make further progress...
Goals for Hackweek 24
- Complete the accessories: there are some small add-on boards with sensors that still need a bit of soldering to be ready to use
- Continue work on the C64 emulator: get USB keyboard working first to see if it makes games waiting for a keypress playable. Then work on the OSD emulation so that no physical keyboard is necessary.
Summary after Hackweek 23
I was able to spend something like 2.5 days due to various circumstances (including traveling to Brno for OpenAlt on Friday).
- soldering of accessory sensor boards - postponed
- exploring the SDK space: the official repository has some hw documentation and binaries of the preloaded games. I didn't check the micropython/circuitpython stuff as that was out of scope of my main focus
- the preloaded games are built using the PicoLibSDK which is not using the official raspberry pico-sdk, only a cross toolchain is needed and one small tool elf2uf2 from the sdk to create uf2 images. You can tell it comes from the Windows world, not based on standard build systems but on .bat files (.sh versions provided too). It provides a bootloader where you can browse UF2 files from the sdcard and it will copy them to the pico's flash and boot it (and retain the SD card bootloader part). Some special programs can be compiled in a way that they are not flashed first, but loaded to RAM. There are few more games than what's preloaded and also some small tools like to control volume etc. I was able to compile the sources from Linux so despite the weird build environment that's working.
- Next I wanted to try the gameboy emulator and find out it's not based on PicoLibSDK but it's built using platformio which downloads whatever is needed (toolchain, IIUC the official sdk and some arduino layers) so that's a bit opaque. The instructions there are for vscode and docker - I was able to zypper in python311-platformio and run just the pio command. It offers a build of the standard pico UF2 file that can be loaded to the internal flash using BOOTSEL button over USB mass storage, thus no integration to the sd bootloader from PicoLibSDK. That one didn't however boot for me. Alternatively it builds a PP2 file for the picopad-loader from the same repository, that's similar in the principle as the one from PicoLibSDK, some code originates from it, but it's incompatible. Oh well. That one did work though, so got the emulator working rather nicely with one of the Mario games, which was a first bigger success, and we spent some time with my daughter playing :)
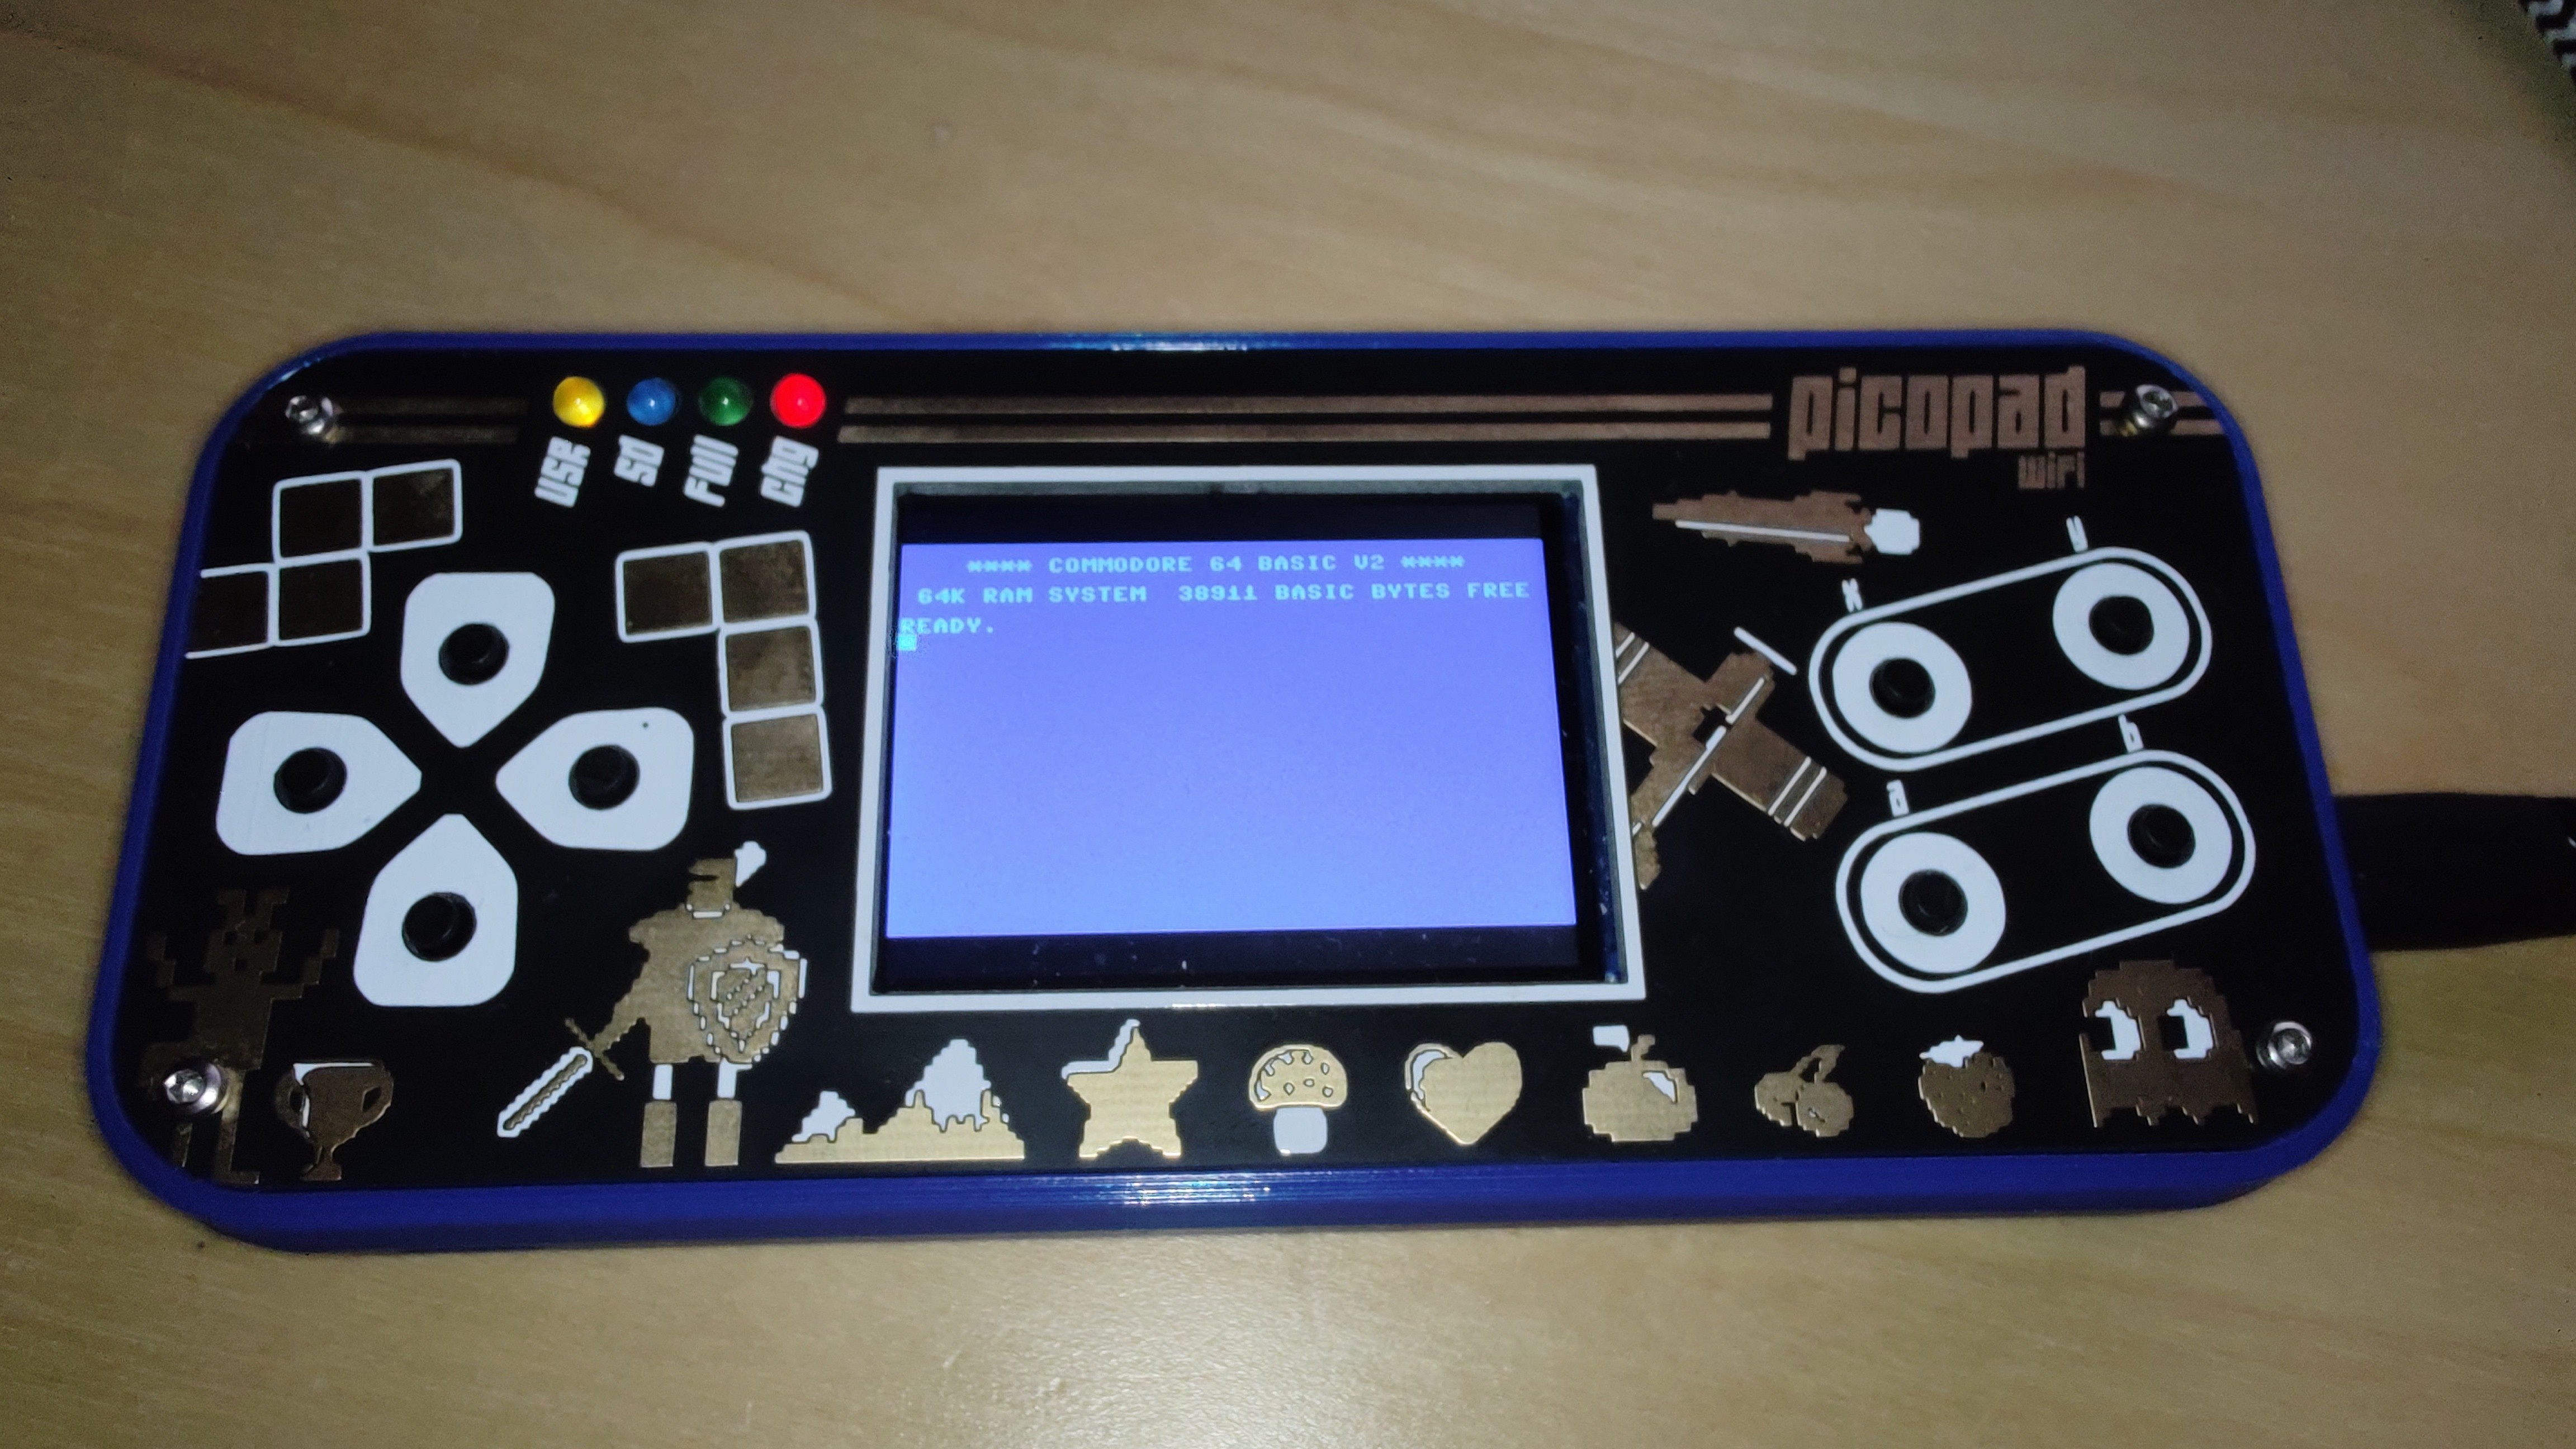
- Next I wanted to get a C64 emulator working. There are various forks of MCUME on github that include pico support - I found out that one of them has been updated just this year to support some devices similar to the picopad, mainly the ST7789 TFT LCD. This is based on the pico-sdk with its cmake build system so it felt most familiar to a linux person. But there's no integration with any of the two loaders described above, so one gets a UF2 that's the only thing the pico will be running. But it can load c64 game files from the sd card. Getting it to build and boot turned out to be surprisingly easy - just had to edit a add a bunch of defines for a new target device to wire up the particular GPIO ports (LCD, sound, joystick...) used on picopad. Then it booted on the first try to the familiar C64 screen from my childhood!
- Encouraged by the rather cheap success I tried to download a few games onto the SDK. Then I realized that my childhood memories of needing just the joystick are not accurate and there was always some "press F1 to start" or built-in trainers that asked Y/N questions for unlimited lives and such... and I wasn't able to start anything. But at least one of them had a cracker intro that demonstrated the sound to be working! And that's when I've run out of time so far.
Future work (after Hackweek 23)
Due to the last point above I'll obviously need some keyboard support for the C64 games. There seems to be USB keyboard support in the emulator which I will try first so I can proceed and see if the games actually work. But it's obviously not optimal for normal PicoPad use. What I've found is similar DYI consoles exist with grids of buttons for keyboard. I think an OSD keyboard will be a better way, there already seems to be some unfinished code on of the forks of Teensy64 (which is what MCUME is based).
Final thoughts (after Hackweek 23)
It was very educational, hope I'll have some time to continue working on this. What's a bit disappointing coming from Linux (kernel) world is how messy this area seems to be - various forks of stuff with large non-descriptive commits, code copy pasted from one to another (and never updated afterwards), non-standard build systems, Windows-centric environments, incompatible loaders and approaches to stuff... hopefully things will consolidate a bit eventually :)

Looking for hackers with the skills:
Nothing? Add some keywords!
This project is part of:
Hack Week 23 Hack Week 24 Hack Week 25
Comments
-

over 2 years ago by rhopkins | Reply
Nice! My first computer was a Sinclair Spectrum but I spent lots of my time on the Atari ST. I recently got a Mega ST without a keyboard so used a Raspberry Pi Pico to emulate the HD6301 keyboard controller so I could plug a USB keyboard and mouse into it. I had to use both cores and overclock the pico to make it work, and the USB host stack was a bit buggy at the time, but it does work quite well.
Similar Projects
This project is one of its kind!